
Connecting Packer and Terraform with Data Sources

When I first started using Packer I couldn't find any good information on how to automate the workflow with Terraform. So I just reached into my favorite toolbox Bash, and whipped together some scripts (details on this approach here). However since my initial implementation, I have become aware of data-sources, which provides a much cleaner way for Packer and Terraform to interact.
So like my original post I will show here how to build an AMI for a Bastion with Packer and hook it up to Terraform, only this time use a data-source instead many sed commands.
First our Packer Template:
{
  "variables": {
    "aws_access_key": "",
    "aws_secret_key": ""
  },
  "builders": [
    {
      "type": "amazon-ebs",
      "access_key": "{{user `aws_access_key`}}",
      "secret_key": "{{user `aws_secret_key`}}",
      "region": "us-west-1",
      "source_ami_filter": {
        "filters": {
          "virtualization-type": "hvm",
          "name": "ubuntu/images/*ubuntu-xenial-16.04-amd64-server-*",
          "root-device-type": "ebs"
        },
        "owners": [
          "099720109477"
        ],
        "most_recent": true
      },
      "instance_type": "t2.micro",
      "ssh_username": "ubuntu",
      "ami_name": "bastion {{timestamp}}",
      "tags": {
        "Name": "Bastion"
      }
    }
  ],
  "provisioners": [
    {
      "type": "shell",
      "script": "packer/scripts/setup_bastion.sh"
    }
  ]
}
Very simple, this just runs a script which installs the oh-so-important lolcat, also not the tags sections.
Build our AMI
packer build \
  -var "aws_access_key=$AWS_ACCESS_KEY" \
  -var "aws_secret_key=$AWS_SECRET_KEY" \
  bastion.json
Terraform Setup:
provider "aws" {
  region = "us-west-1"
}

data "aws_ami" "bastion" {
  filter {
    name   = "state"
    values = ["available"]
  }

  filter {
    name   = "tag:Name"
    values = ["Bastion"]
  }

  most_recent = true
}

resource "aws_instance" "bastion" {
  ami                         = "${data.aws_ami.bastion.id}"
  key_name                    = "${aws_key_pair.bastion_key.key_name}"
  instance_type               = "t2.micro"
  security_groups             = ["${aws_security_group.bastion-sg.name}"]
  associate_public_ip_address = true
}

resource "aws_default_vpc" "default" {}

resource "aws_security_group" "bastion-sg" {
  name   = "bastion-security-group"
  vpc_id = "${aws_default_vpc.default.id}"

  ingress {
    protocol    = "tcp"
    from_port   = 22
    to_port     = 22
    cidr_blocks = ["0.0.0.0/0"]
  }

  egress {
    protocol    = -1
    from_port   = 0
    to_port     = 0
    cidr_blocks = ["0.0.0.0/0"]
  }
}

resource "aws_key_pair" "bastion_key" {
  key_name   = "your_key_name"
  public_key = "ssh-rsa AAAAB3NzaC1yc2EAAAADAQABAAACAQC48H/E6H6pV7esbFh/qls5QM1s0+itFVYXj2rRzBpnQVim/jBxuexI22Ac1GpdFV2xQp0eMoSAh9mBdZ+/W+OWcYiJ+zHChq1WxhGyCWmbzD9XjJWBMqtZdARBWS50NQXuChXcfvSt4xgKu0kZY3GsTwsvFopLQ/zYys+5R7hNPvbuiRFaAJrjalDZOvIXEzZfRCWagiqLa40YYXvHWhJ/62XHULOSPbKBVk3eLK0kVJ/m743pKo0biTViJpp06IqwZFluRaDMHaDiQuguX4Fu+paScdI89/zfTfL7Ps80+WEQEQdGture7nX4445Df3Kaz9VWt2zKN8PbBYxUh8V9uAkviED7qu5DlqI9Vlh+lTjeeWWmL5jlFz4zFpSTOPXjE3rdaSmVkhTqEqAVDpkpf4VtUtQU819HpTXQFWDu6tyFz6qG3UcG2w0TKG2YfYzZT16idfFTykqI1RgIv5gcW65jGkJ+KWOVYA2q/JS25X+XZeHBhOK2rmD82DnZ7nHjFKOMJf44zvCWICup1XienVGmXc+0GCk5A/kjjcJrbfFWuCbJz5IbiaNgDQ9nuAFQVAGqulpVASIo5Hk9h6HThoT7jsnLBZgGWsPlPg+e1zszMOREI6yX35ItAhhx+oui9n8rWxLlvkg0BvL4WA2a03xVRN6X+26sUMHVav+gdw== your_email@example.com"
}

output "bastion_public_ip" {
  value = "${aws_instance.bastion.public_ip}"
}
The magic happens where we use the aws_ami data-source, to find the most recent AMI, that has a Name tag with the value "Bastion".
data "aws_ami" "bastion" {
  filter {
    name   = "state"
    values = ["available"]
  }

  filter {
    name   = "tag:Name"
    values = ["Bastion"]
  }

  most_recent = true
}
We then use this data-source to build our aws_instance resource:
resource "aws_instance" "bastion" {
  ami = "${data.aws_ami.bastion.id}"
  # ...
}
Now we just have to apply our changes:
terraform apply
SSH onto our Bastion:
ssh -i ~/.aws/you_key_name ubuntu@43.33.124.124
Note: Your key name and IP address will be different. For more information about this Bastion Terraform setup, read here
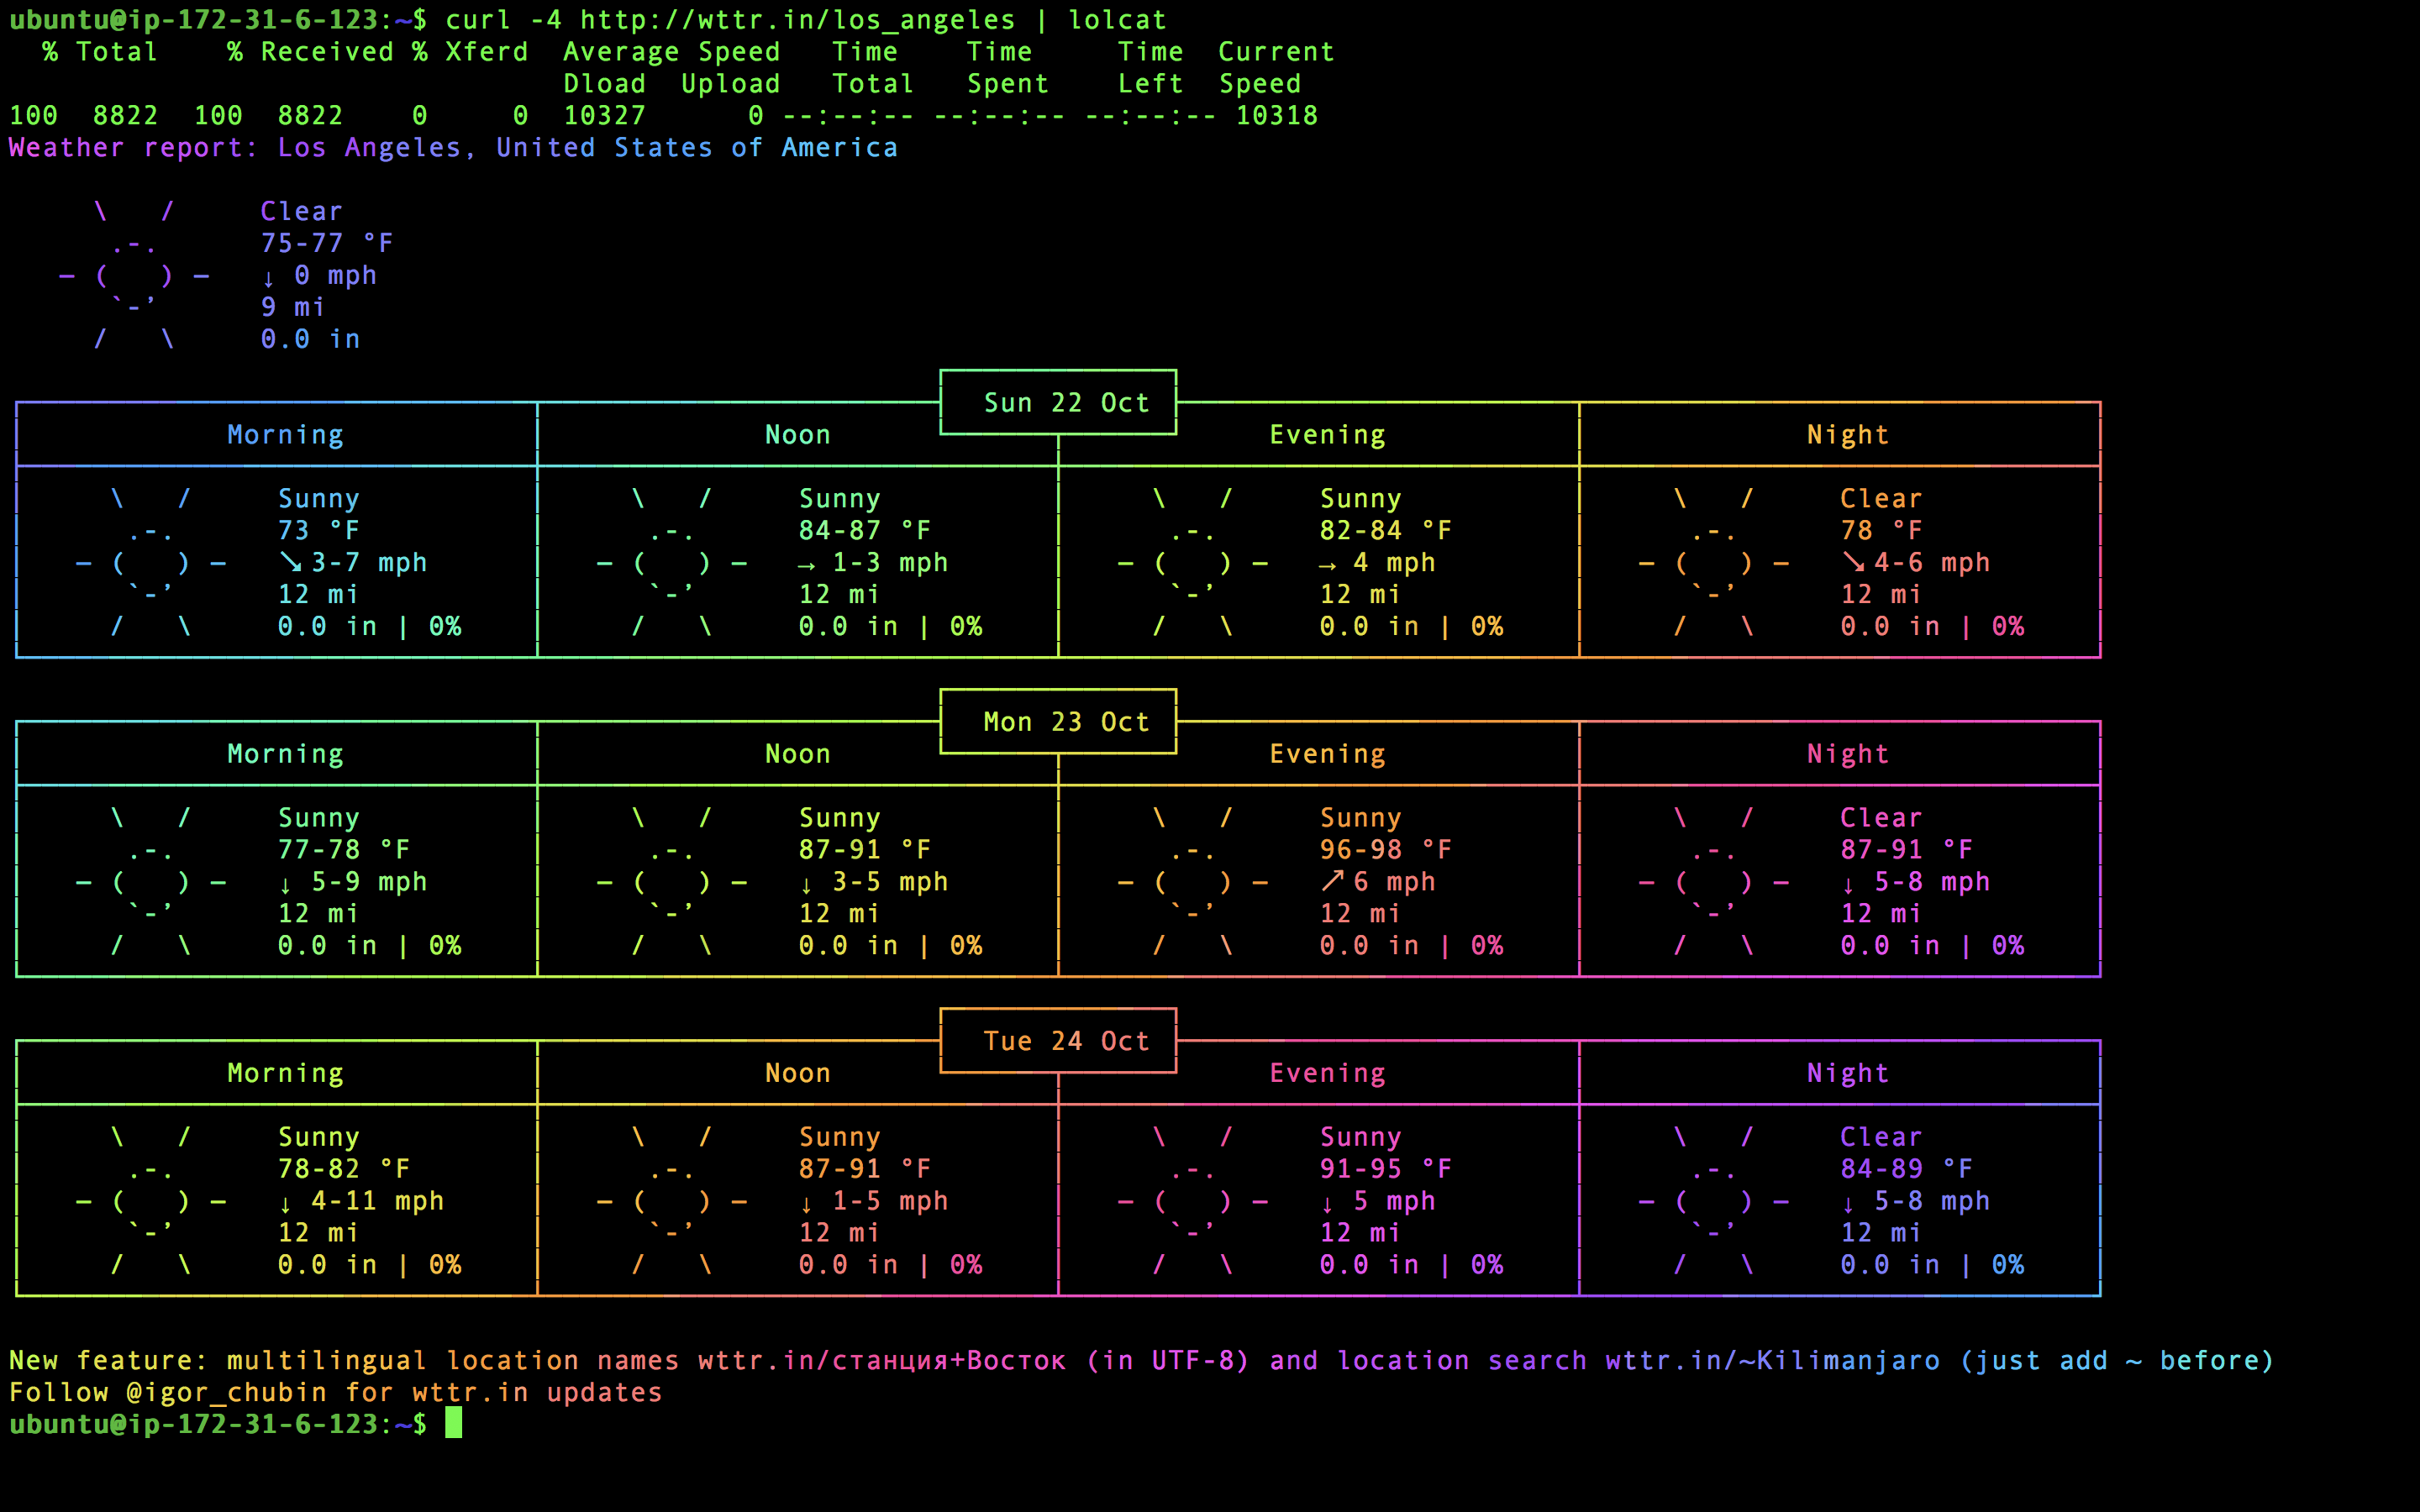
And Voilà! We now can finally see the weather in beautiful rainbow colors!
curl -4 http://wttr.in/los_angeles | lolcat
Code for this setup is located here.
Note: you will have to update the aws_key_pair to be your own public key.