A Project Structure for Packer and Terraform

Being relatively new tools, I have not found a lot of common conventions around how to structure projects that use both Terraform and Packer. This has lead me to do some experimenting, and so far I have come up with a system that works decently for my use case.
For this example we are going to use Packer to build a Bastion Host and Terraform to deploy the infrastructure to AWS. We will be using Packer's features to copy our some files, as well as install code onto our AMI.
Here is the structure of the project:
▾ packer/
  ▾ files/
      vimrc
  ▾ scripts/
      setup_bastion.sh*
  ▾ templates/
      bastion.json
    build_ami.sh*
▾ tfvars/
    packer_ami.tfvars
    variables.tfvars
  apply.sh*
  destroy.sh*
  bastion.sh*
  main.tf
  variables.tf
There are 3 main sections:
- The root of project containing our Terraform .tf HCL files and scripts
- The tfvars folder, containing our tfvar files
- The packer folder, containing our full packer setup
Inside the Packer Folder
The build_ami.sh script inside the packer folder is where we encapsulate the packer build command:
#!/usr/bin/env bash

set -e

packer build \
  -var "aws_access_key=$AWS_ACCESS_KEY" \
  -var "aws_secret_key=$AWS_SECRET_KEY" \
  packer/templates/bastion.json | tee packer/logs/packer_output.txt

cat packer/logs/packer_output.txt | tail -n 2 \
  | sed '$ d' \
  | sed "s/us-west-1: /packer_built_bastion_ami = \"/" \
  | sed -e 's/[[:space:]]*$/\"/' > tfvars/packer_ami.tfvars

cat tfvars/packer_ami.tfvars
Note: You will have to export the AWS_ACCESS_KEY and AWS_SECRET_KEY environment variables.
This script:
- Builds our AMI with Packer and saves the output
- Parses the logged output and extracts the AMI ID
- Saves the parsed AMI ID to a
tfvarsfile calledpacker_ami.tfvars
Note: More details about this script here
We have 4 folders inside the packer subfolder
 ▸ files/
 ▸ logs/
 ▸ scripts/
 ▸ templates/
templates/ Contains the actual Packer JSON templates
logs/ Contains the output of packer build
scripts/ Contains shell scripts that will be run when creating the AMI
files/ Contains files to copy directly onto the Packer built AMI
We define our Packer setup in a Packer JSON template. Here is what our bastion.json file looks like:
{
  "variables": {
    "aws_access_key": "",
    "aws_secret_key": ""
  },
  "builders": [
    {
      "type": "amazon-ebs",
      "access_key": "{{user `aws_access_key`}}",
      "secret_key": "{{user `aws_secret_key`}}",
      "region": "us-west-1",
      "source_ami_filter": {
        "filters": {
          "virtualization-type": "hvm",
          "name": "ubuntu/images/*ubuntu-xenial-16.04-amd64-server-*",
          "root-device-type": "ebs"
        },
        "owners": [
          "099720109477"
        ],
        "most_recent": true
      },
      "instance_type": "t2.micro",
      "ssh_username": "ubuntu",
      "ami_name": "bastion {{timestamp}}"
    }
  ],
  "provisioners": [
    {
      "type": "file",
      "source": "packer/files/vimrc",
      "destination": "/tmp/vimrc"
    },
    {
      "type": "shell",
      "inline": [
        "sudo apt-get update -y",
        "sudo apt-get install -y silversearcher-ag"
      ]
    },
    {
      "type": "shell",
      "script": "packer/scripts/setup_bastion.sh"
    }
  ]
}
The interesting section here is provisioners, where we utilize 2 types of provisioning: file and shell (using both inline and a script for shell).
File Provisioning:
{
  "type": "file",
  "source": "packer/files/vimrc",
  "destination": "/tmp/vimrc"
}
This copies a file onto our Bastion host. We move the file to our desired location using a script, as per recommendation in the Packer docs.
Inline Shell Provisioning:
{
  "type": "shell",
  "inline": [
    "sudo apt-get update -y",
    "sudo apt-get install -y silversearcher-ag"
  ]
}
This runs the commands in order, updating [apt-get]https://wiki.debian.org/apt-get) and then installing the all too useful silversearcher:
Shell Script Provisioning:
{
  "type": "shell",
  "script": "packer/scripts/setup_bastion.sh"
}
This simply runs the script, which looks like this:
#!/usr/bin/env bash

mv /tmp/vimrc /home/ubuntu/.vimrc
sudo apt-get install -y ruby-full build-essential
sudo apt-get install -y rubygems
sudo gem install lolcat
We move our vimrc to proper location, install Ruby and Ruby Gems and then install everyone's favorite: lolcat!
If we run packer/build_ami.sh we should an AMI output to console
and saved in the tfvars/packer_ami.tfvars file.
packer/build_ami.sh
Build 'amazon-ebs' finished.

==> Builds finished. The artifacts of successful builds are:
--> amazon-ebs: AMIs were created:
us-west-1: ami-28f8c848
▾ tfvars/
    packer_ami.tfvars
    variables.tfvars
cat tfvars/packer_ami.tfvars
packer_built_bastion_ami = "ami-28f8c848"
The Root of our Project
An example of the Terraform setup can be found here. What is unique to this setup are some scripts for making it easier to work with this setup:
The apply.sh is a wrapper around terraform apply:
#!/usr/bin/env bash

printf "\n\n\t\033[35;1mTerraform Apply\033[0m\n\n"

terraform get

terraform apply                       \
  -var-file=tfvars/variables.tfvars   \
  -var-file=tfvars/packer_ami.tfvars \
  -auto-approve=false
This performs a terraform get before applying, as well as taking care of passing in the tfvars files, and always calls -auto-approve=false, so we don't accidentally apply some architecture we don't want.
The destroy.sh script is very similar except it takes down our infrastructure:
#!/usr/bin/env bash

printf "\n\n\t\033[35;1mTerraform Destroy\033[0m\n\n"

terraform get

terraform destroy                     \
  -var-file=tfvars/variables.tfvars   \
  -var-file=tfvars/packer_ami.tfvars
And lastly we have bastion.sh, a script making it easier to SSH onto our Bastion host:
#!/usr/bin/env bash

bastion_ip=$(terraform output --json | jq -r ".bastion_public_ip.value")
echo "SSHing onto Bastion located at: $bastion_ip"
ssh -A "ubuntu@$bastion_ip"
Tying it all together
Here is a repo to use as a starting point:
Note: this assumes you have Terraform and Packer already installed
git clone git@github.com:davidbegin/davidbegin.com.git
cd packer_and_terraform
terraform init
packer/build_ami.sh
./apply.sh
./bastion.sh
You should now be on the Bastion host.
Confirm AG works and the .vimrc is in place:
ag --hidden hlsearch
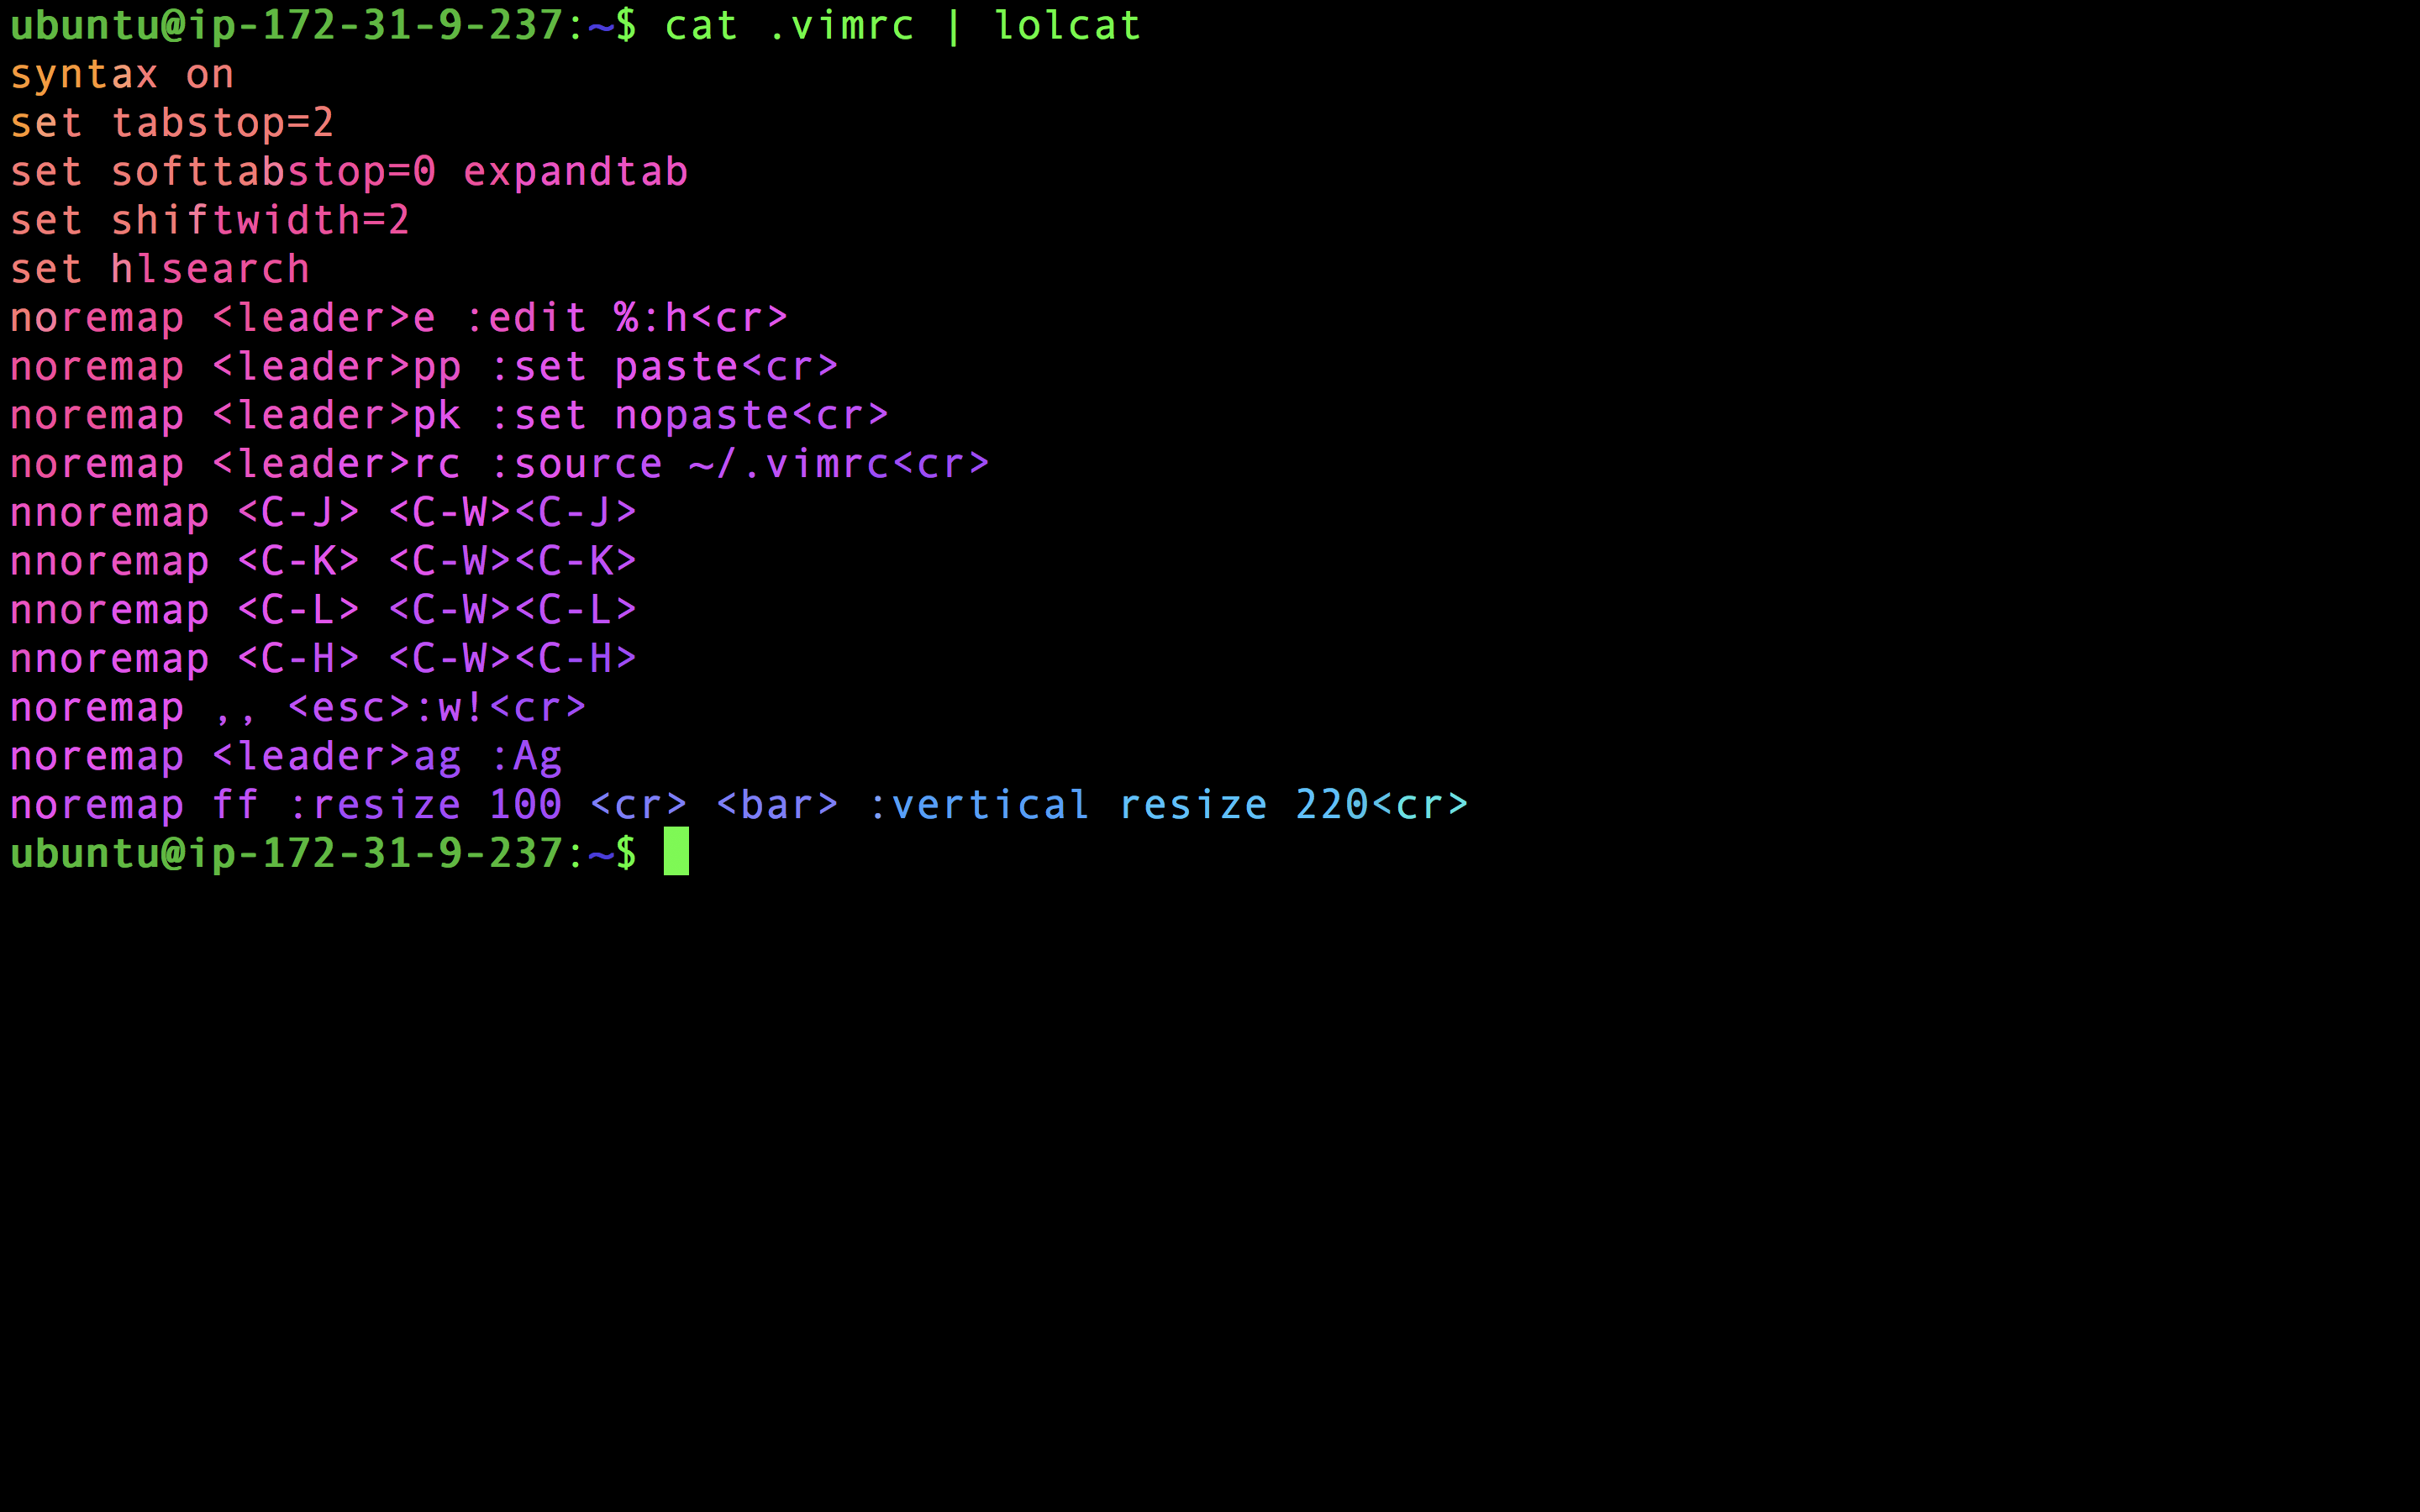
Confirm Ruby and Lolcat were installed:
cat .vimrc | lolcat